SmallImg + SmallAdapt: Compress First or Adapt First?

If you're searching for "comprimir o redimensionar primero", you probably have a specific file and a specific limit to meet — file size, format, or compatibility. This guide gets straight to it: what to do, which tool to use, and how not to wreck quality along the way.
Two different operations with different effects
Compressing reduces file weight while ideally keeping the same pixel dimensions. Resizing changes how many pixels the image has — which alone can slash weight if you were serving a 4000 px-wide photo in an 800 px slot.
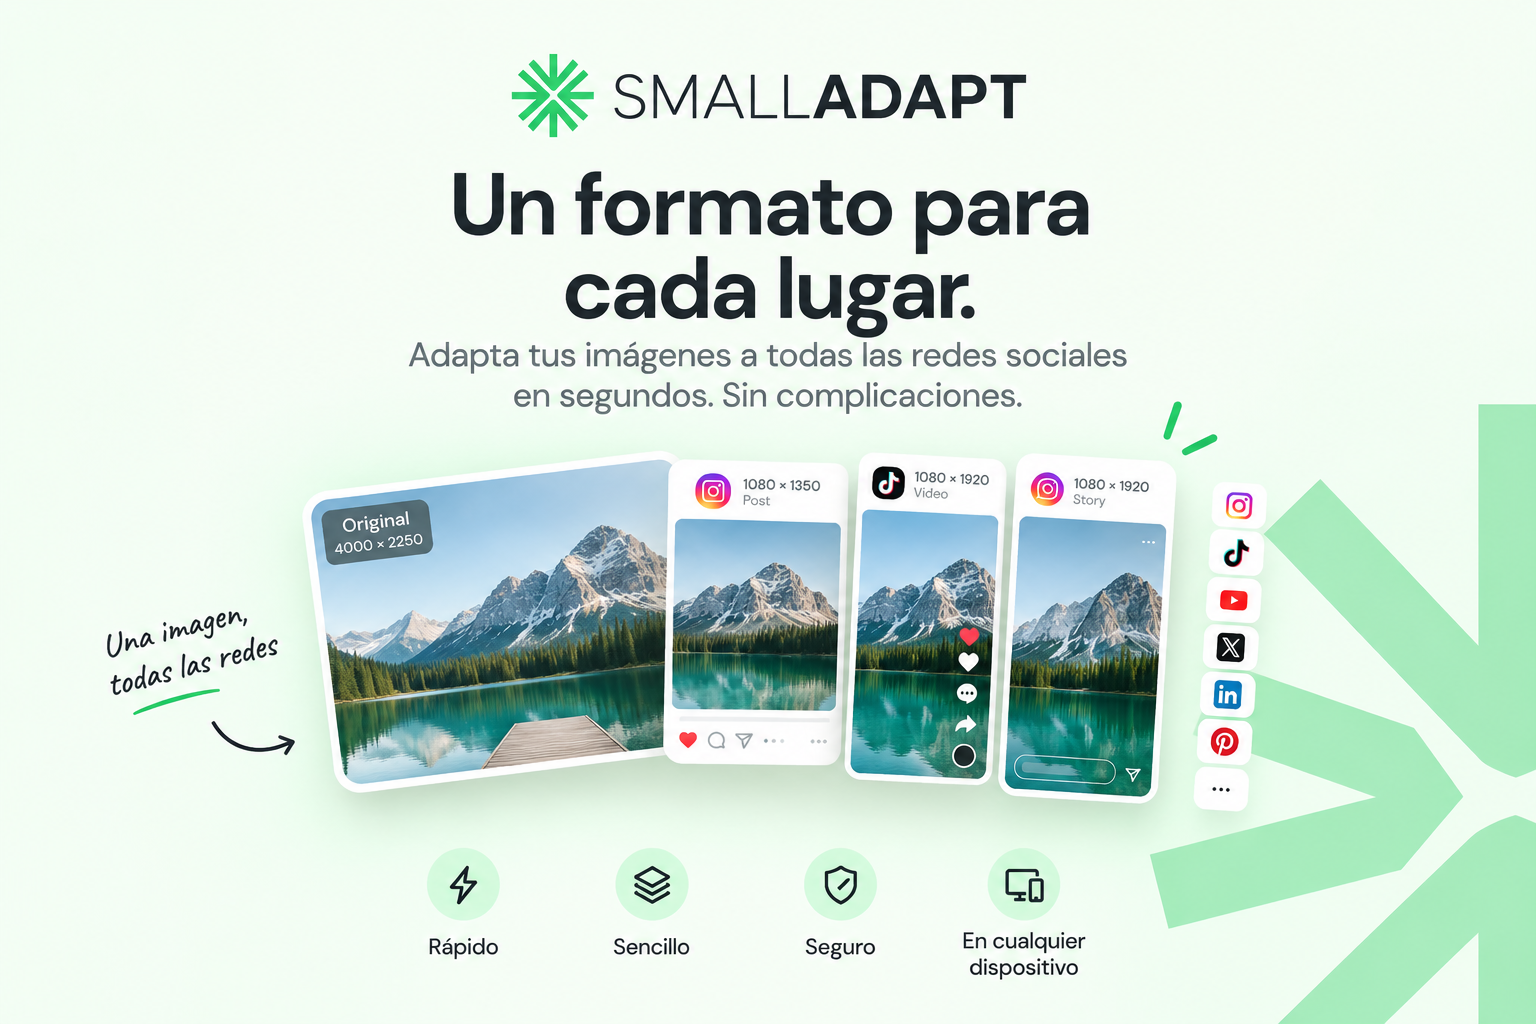
SmallImg focuses on weight and format; SmallAdapt focuses on crop and aspect ratios for social platforms. They complement each other — and order matters.

General rule: adapt first, compress second
If you need a 1080×1920 Story and your original is a 4000×3000 horizontal, crop to the correct format with SmallAdapt first. Compressing the full 4000 px horizontal before cropping wastes work: the heavy file is processed entirely only to discard most pixels afterward.
Once you have the final framing at the exact size the platform expects, run the result through SmallImg for quality and format (WebP for web, JPG if the platform requires it). You compress only the pixels that will actually display.

Exception: when compressing first makes sense
If the bottleneck is a strict weight limit (government portal, email, form) and framing is already correct, compress first to solve the immediate problem without touching dimensions. Same if you have a hundred event photos already well framed but weighing 8 MB each — batch compression comes before any crop.
For e-commerce product shots, the ideal flow is usually: high-res capture → marketplace ratio crop if needed → compression and WebP conversion → upload. Background removal vs compression order is covered in our product photo guide.

Combined workflow checklist
Does the image already have the correct ratio for where it will be used? If not → SmallAdapt first. Does weight exceed the destination limit (web, email, form)? → SmallImg next. Publishing on Instagram or WhatsApp? → Compress only once at the end, never before and after the platform re-processes.
Avoid chains of three tools in a row (compress in A, crop in B, compress again in C) — each lossy step accumulates degradation. Plan the full flow before you start.

Try it with your own file: try it here — in the browser, without uploading anything to a server.