How to Reduce JPG File Size Without Losing Quality

Most people compress a JPG in one of two ways: either they don't compress it at all and upload the file straight out of the camera, or they compress it so aggressively that it's obvious at a glance. Between those two extremes there's a specific sweet spot — almost always between 75% and 90% quality — where the file size drops noticeably and the eye can't tell the result from the original. Finding that point is easier than it sounds, once you know what to look for.
Why JPG can afford to lose information without it showing
JPG compresses by exploiting a real quirk of human vision: the eye is far more sensitive to changes in brightness (light/dark) than to subtle shifts in color. The algorithm separates that information and selectively discards the color detail the eye barely perceives, while keeping the brightness detail — the part we actually notice — almost intact. That's the technical reason you can drop quality quite a bit before the result looks "worse" to the naked eye.
Where the sweet spot actually is
As a practical reference: 90-95% quality barely reduces the file size compared to the original — most of JPG's real savings kick in further down. Between 75% and 85% is usually the range where the file weighs a fraction of the original and is still indistinguishable from it at a glance, unless you zoom in hard. Below 60-65%, visible artifacts start to appear — mostly blocky patches or color smearing around high-contrast edges, like the outline of text or an object against its background.
The exact range varies by photo: an image with smooth color transitions (a sky, a plain wall) tolerates more aggressive compression without it showing, while a photo with a lot of fine detail (text, repeating patterns, complex textures) shows artifacts sooner. That's why there's no single "correct" number for every photo — there's a range, and it's worth checking the result visually instead of trusting a fixed value.
How to find it without guessing blind
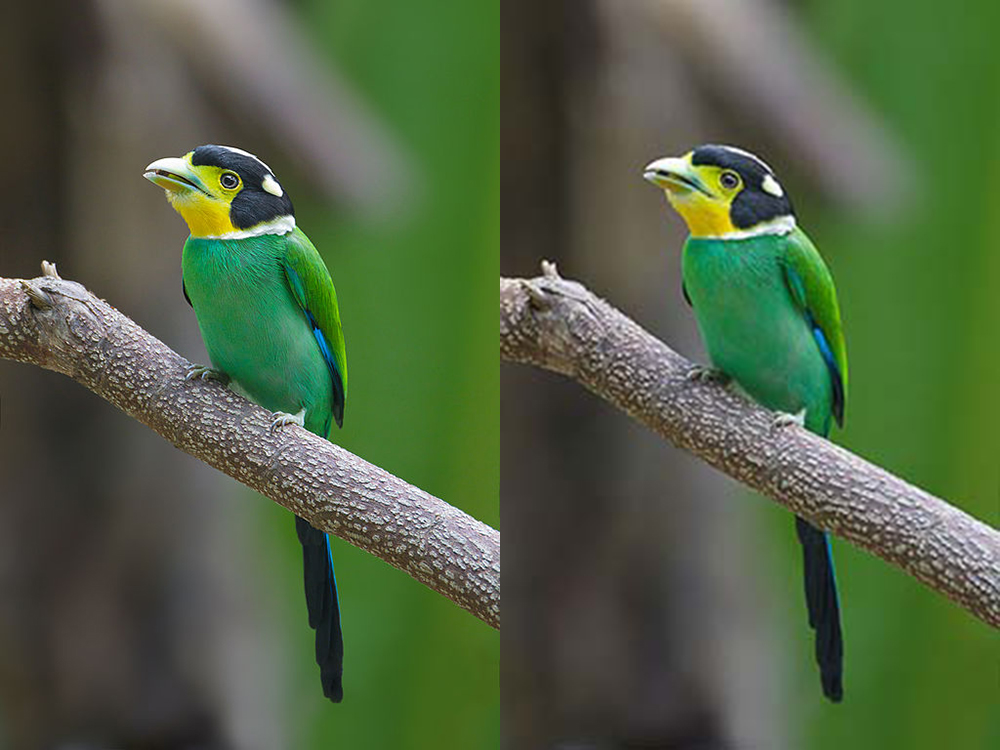
In SMALLIMG's compressor you can move the quality slider and instantly see both the resulting file size and a preview of the result — compared side by side with the original. Instead of exporting, checking the size in your file explorer, and going back if you're not happy (the usual flow with many editors), you adjust until the size drops enough and the preview still looks good, all in the same step.
If you can also afford to reduce the pixel dimensions (not just the quality), combining both usually gives the best result — we cover that in more detail in the article onhow to shrink a photo to under 1 MB.
Find the sweet spot with your own photo:try it here, in your browser, comparing the result in real time before you download.