How to Post on Social Media Without Losing Quality

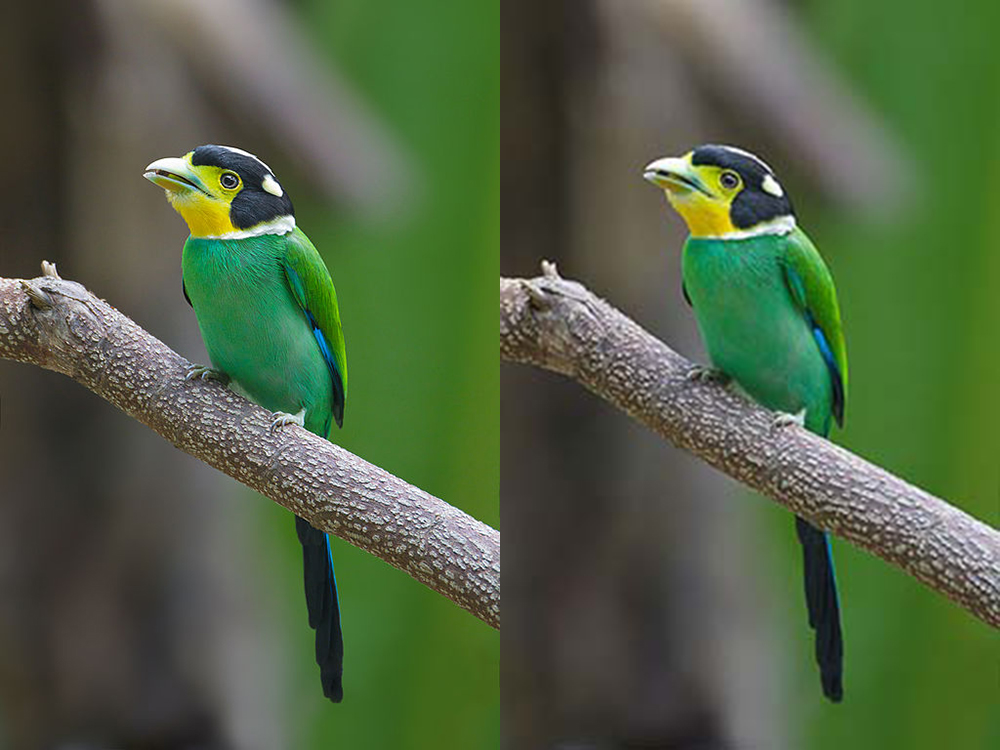
It's almost always the same mistake, and almost nobody diagnoses it correctly: it's not that "social media wrecks quality," it's that you're compressing twice without realizing it. Your photo already left the phone compressed (every camera compresses when it saves a file). When you upload it, the platform compresses it again, in its own way, to serve it to everyone else. Two lossy compressions, stacked one on top of the other, is exactly what produces that "plasticky" look or the color blotches you see so often in photos that have been shared around a few times.
The order of steps that actually works
- Export from the original, not from an already-compressed copy. If you have the RAW file or the original camera photo, start there — not from a version that already went through WhatsApp or another platform first.
- Resize to the exact dimensions the platform is going to display (we cover this in detail in the article on social media image sizes) — not bigger, which only adds file weight without gaining sharpness, and not smaller, which forces the platform to stretch the image, and that is noticeable.
- Compress it yourself before uploading, at a quality level you control. This is the key step almost everyone skips. If you upload a file that's already optimized and reasonably light, the platform has much less room — and much less reason — to recompress it aggressively. If you upload a heavy, untouched file, the platform decides for you how much to cut, and its priority is saving bandwidth on its own servers, not making your photo look good.
- Choose the right output format. JPG for photographs, PNG only if you need transparency or it's a graphic with text. Almost no social network accepts WebP or AVIF uploads yet (even though they use those formats internally to serve images), so export to high-quality but not maximum-quality JPG — 100% JPG quality almost never produces a visible difference versus 85-90%, but it does produce a noticeably heavier file.
Why "more resolution is always better" is a myth here
It's intuitive to think that a bigger, heavier image will always look better, but on social media it actually works the other way around: the heavier your original file, the more aggressively the platform will recompress it to save bandwidth, because its compression algorithm is designed to keep the final file weight within a target range, not to preserve your quality. A file that's already optimized to a reasonable weight, at the exact correct size, usually comes out of the platform's recompression process looking better than a "raw" 15 MB file straight off the camera.
The special case of screenshots
If what you're sharing is a screenshot (a design, a message, a chart), the most common mistake is exporting it as JPG. Screenshots have hard edges, text, and flat colors — exactly what JPG compresses worst, producing those blurry halos around letters. Always use PNG for screenshots, even though it's somewhat heavier: the sharpness difference is huge, and the file stays reasonably light anyway, because graphics with few colors compress very well in PNG.
You can apply this whole process — resizing and compressing before you upload — in a single step:compress your photos here, in your browser, without anything leaving your device. And if what you need is to crop to the exact size for each network (Story, thumbnail, banner...), SmallAdapt does exactly that.